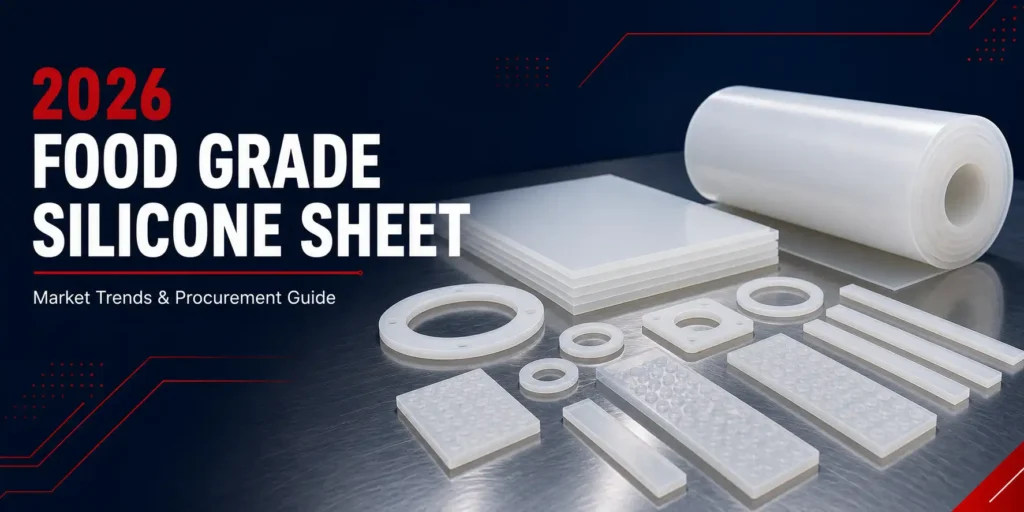
Silicone rubber sheets are valued across industries for their flexibility, durability, and heat resistance, making them ideal for gaskets, insulation liners, cushioning pads, and food-grade seals. However, cutting them can be challenging—the material tends to stretch, resist the blade, and tear if not handled correctly.
This guide provides step-by-step instructions on how to cut silicone rubber sheet properly, covering the right tools, techniques, safety measures, and professional insights. Whether you’re a DIY enthusiast or a procurement engineer, you’ll learn how to achieve neat, consistent cuts.
1. Understanding the Material
The type, hardness, and thickness of a silicone rubber sheet significantly influence how it should be cut.
- Types: Solid, sponge, translucent, food-grade, high-temperature, or conductive/reinforced silicone.
- Hardness: Measured in Shore A. Softer grades (30–40 Shore A) are easy to compress but difficult to cut cleanly, while harder grades (60–70 Shore A) resist deformation but require sharper tools.
- Thickness: Typically ranges from 0.5 mm to 10 mm. Thicker sheets may require multiple passes or mechanical cutting methods.
Understanding these properties helps in selecting the right tools and techniques for precise edges and minimal waste.
2. Essential Tools and Equipment
Using the correct tools is crucial for a clean cut. Below are commonly used and proven options:
| Purpose | Recommended Tools |
|---|---|
| General Manual Cutting | Sharp utility knife, craft knife, or scalpel |
| Fine Detailing & Curves | Rotary cutter or precision blade |
| Industrial/Volume Cutting | Die cutter, CNC cutter, or CO₂ laser |
| Work Surface | Self-healing cutting mat or sturdy workbench |
| Marking | Fine-tip permanent marker or scribe |
| Support Gear | Metal straight edge, clamps, and protective gloves |

Pro Tip: A dull blade is the fastest way to ruin your work. Always use a new or freshly sharpened blade.
For professionals requiring high-volume production or precise gaskets, custom die cutting or laser cutting ensures burr-free edges and consistent results.
3. Preparing Your Work Area
- Clean the Sheet: Wipe off any dust or oil to ensure accurate marking.
- Lay it Flat: Ensure the sheet is smooth and free of wrinkles or tension.
- Mark the Cutting Line: Use a fine-tip permanent marker or chalk line. Avoid broad lines that can hide the precise path.
- Secure the Sheet: Use clamps or weights to prevent shifting, especially with thicker or larger pieces.
4. Step-by-Step Cutting Guide
Step 1: Score the Surface
Place a straight edge firmly along your marked line.
Hold the knife at a low angle (about 30 degrees) and make a light, initial scoring cut—just enough to break the surface. Do not attempt to cut through in one go.
Step 2: Deepen the Cut Gradually
Repeat the scoring pass two or three times, increasing the pressure slightly each time.
For sheets thicker than 3–5 mm, flip the sheet over and carefully cut along the same line from the opposite side to complete the cut cleanly.
Step 3: Cutting Curves and Small Parts
Use a rotary cutter, precision blade, or circular die. Where possible, rotate the material itself instead of forcing the blade around tight curves.
Step 4: Finishing the Edge
Inspect the edge. If minor burrs or roughness remain, trim carefully with sharp scissors or sand lightly with fine-grit sandpaper. For industrial-grade edges, precision die cutting or laser cutting delivers the finest finish.
5. Troubleshooting and Pro Tips
| Common Issue | Likely Cause | Recommended Solution |
|---|---|---|
| Torn or Stretched Edges | Dull blade / Excessive force | Replace the blade; use multiple light passes |
| Uneven Cutting Line | Sheet slipped during cutting | Secure the sheet firmly with clamps or tape |
| Burn Marks (Laser) | Laser power too high / Poor ventilation | Adjust settings and use air assist |
| Blade Drag or Gumming | Silicone is too soft or tacky | Chill the sheet in a refrigerator to firm it up |
Additional Techniques:
- A light mist of soapy water on the blade can reduce friction.
- For very soft silicone (under 40 Shore A), chilling it in a freezer for 10–15 minutes makes it firmer and easier to cut smoothly.
6. When to Use Professional Cutting Services
Consider outsourcing if your project requires:
- Gaskets with tight tolerances
- Complex patterns or high-volume cutting
- Consistent dimensions across production batches
- Cutting high-temperature resistant or reinforced silicone
Specialized cutting services use CNC or die-cutting machines to achieve accuracy within ±0.1 mm, ensuring clean, repeatable results critical for sealing performance and assembly fit.
For manufacturers, partnering with a silicone supplier that offers custom cutting saves time, reduces material waste, and ensures traceability.
7. Safety Recommendations
Always handle cutting tools with care:
- Cut away from your body and hands.
- Wear protective gloves to improve grip and prevent injury.
- Keep your work area clear of off-cuts and debris.
- When using laser or mechanical cutters, ensure adequate ventilation and follow all machine safety protocols.
While cutting silicone rubber sheet can seem daunting due to its elastic and durable nature, achieving straight, professional-quality results is straightforward with the right tools, preparation, and a controlled technique.
For one-off projects or prototypes, manual cutting is perfectly adequate.
For large-scale production or intricate sealing components, professional cutting services guarantee the accuracy, efficiency, and flawless edge quality needed for optimal performance.
1: What is the best tool to cut silicone rubber sheet?
For most thin silicone rubber sheets, a sharp utility knife, craft knife, or scalpel works well. Use a metal straight edge and make several light scoring passes instead of trying to cut through the sheet in one stroke. For thicker sheets, complex shapes, or production gaskets, die cutting, CNC cutting, or waterjet cutting is usually more accurate and consistent.
2: Can you laser cut silicone rubber sheet?
Yes, silicone rubber sheet can be laser cut in some applications, but the result depends on the sheet thickness, compound, laser settings, and ventilation. Too much power can cause burn marks or rough edges. For precision parts, it is best to test a sample first or work with a supplier that can recommend the right cutting method for the material and tolerance.
3: Why does silicone rubber tear or stretch when cutting?
Silicone rubber is flexible and elastic, so it can stretch under blade pressure. Tearing often happens when the blade is dull, the sheet is not secured, or too much force is used in one pass. Use a fresh blade, clamp the sheet flat, score lightly several times, and keep the cut guided by a metal ruler. Softer silicone can also be chilled briefly to make it firmer before cutting.
11:01